

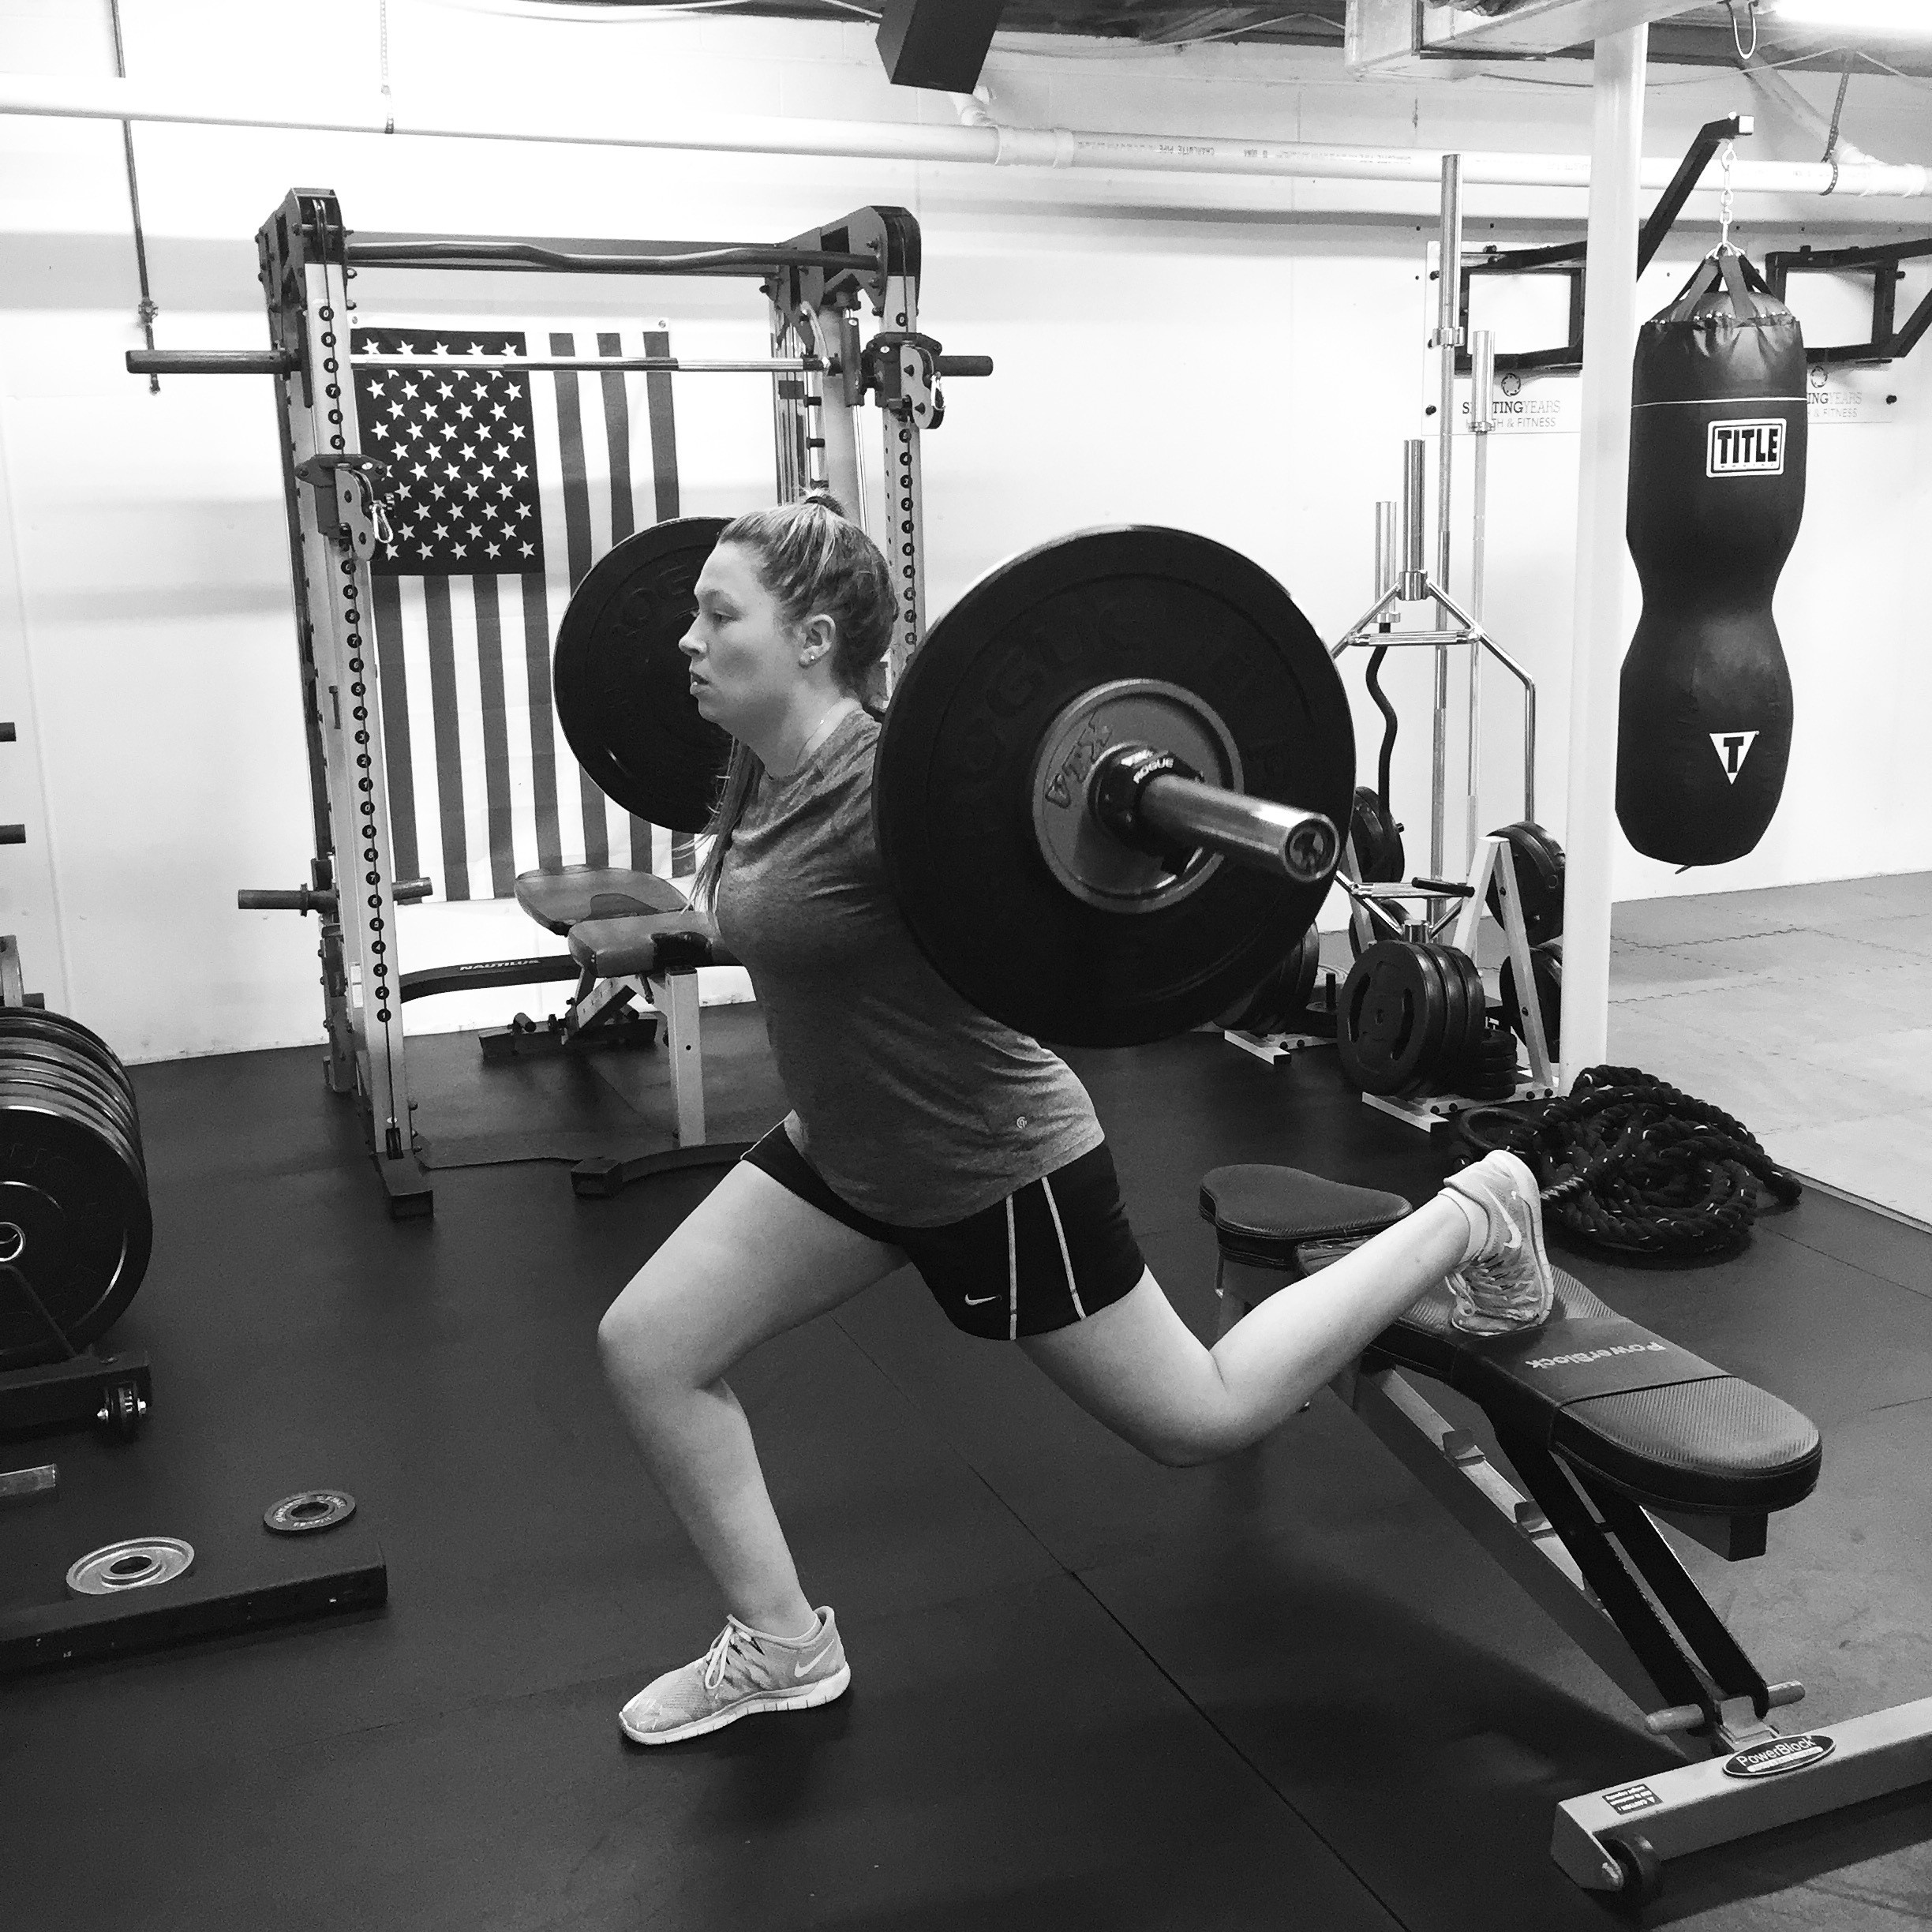
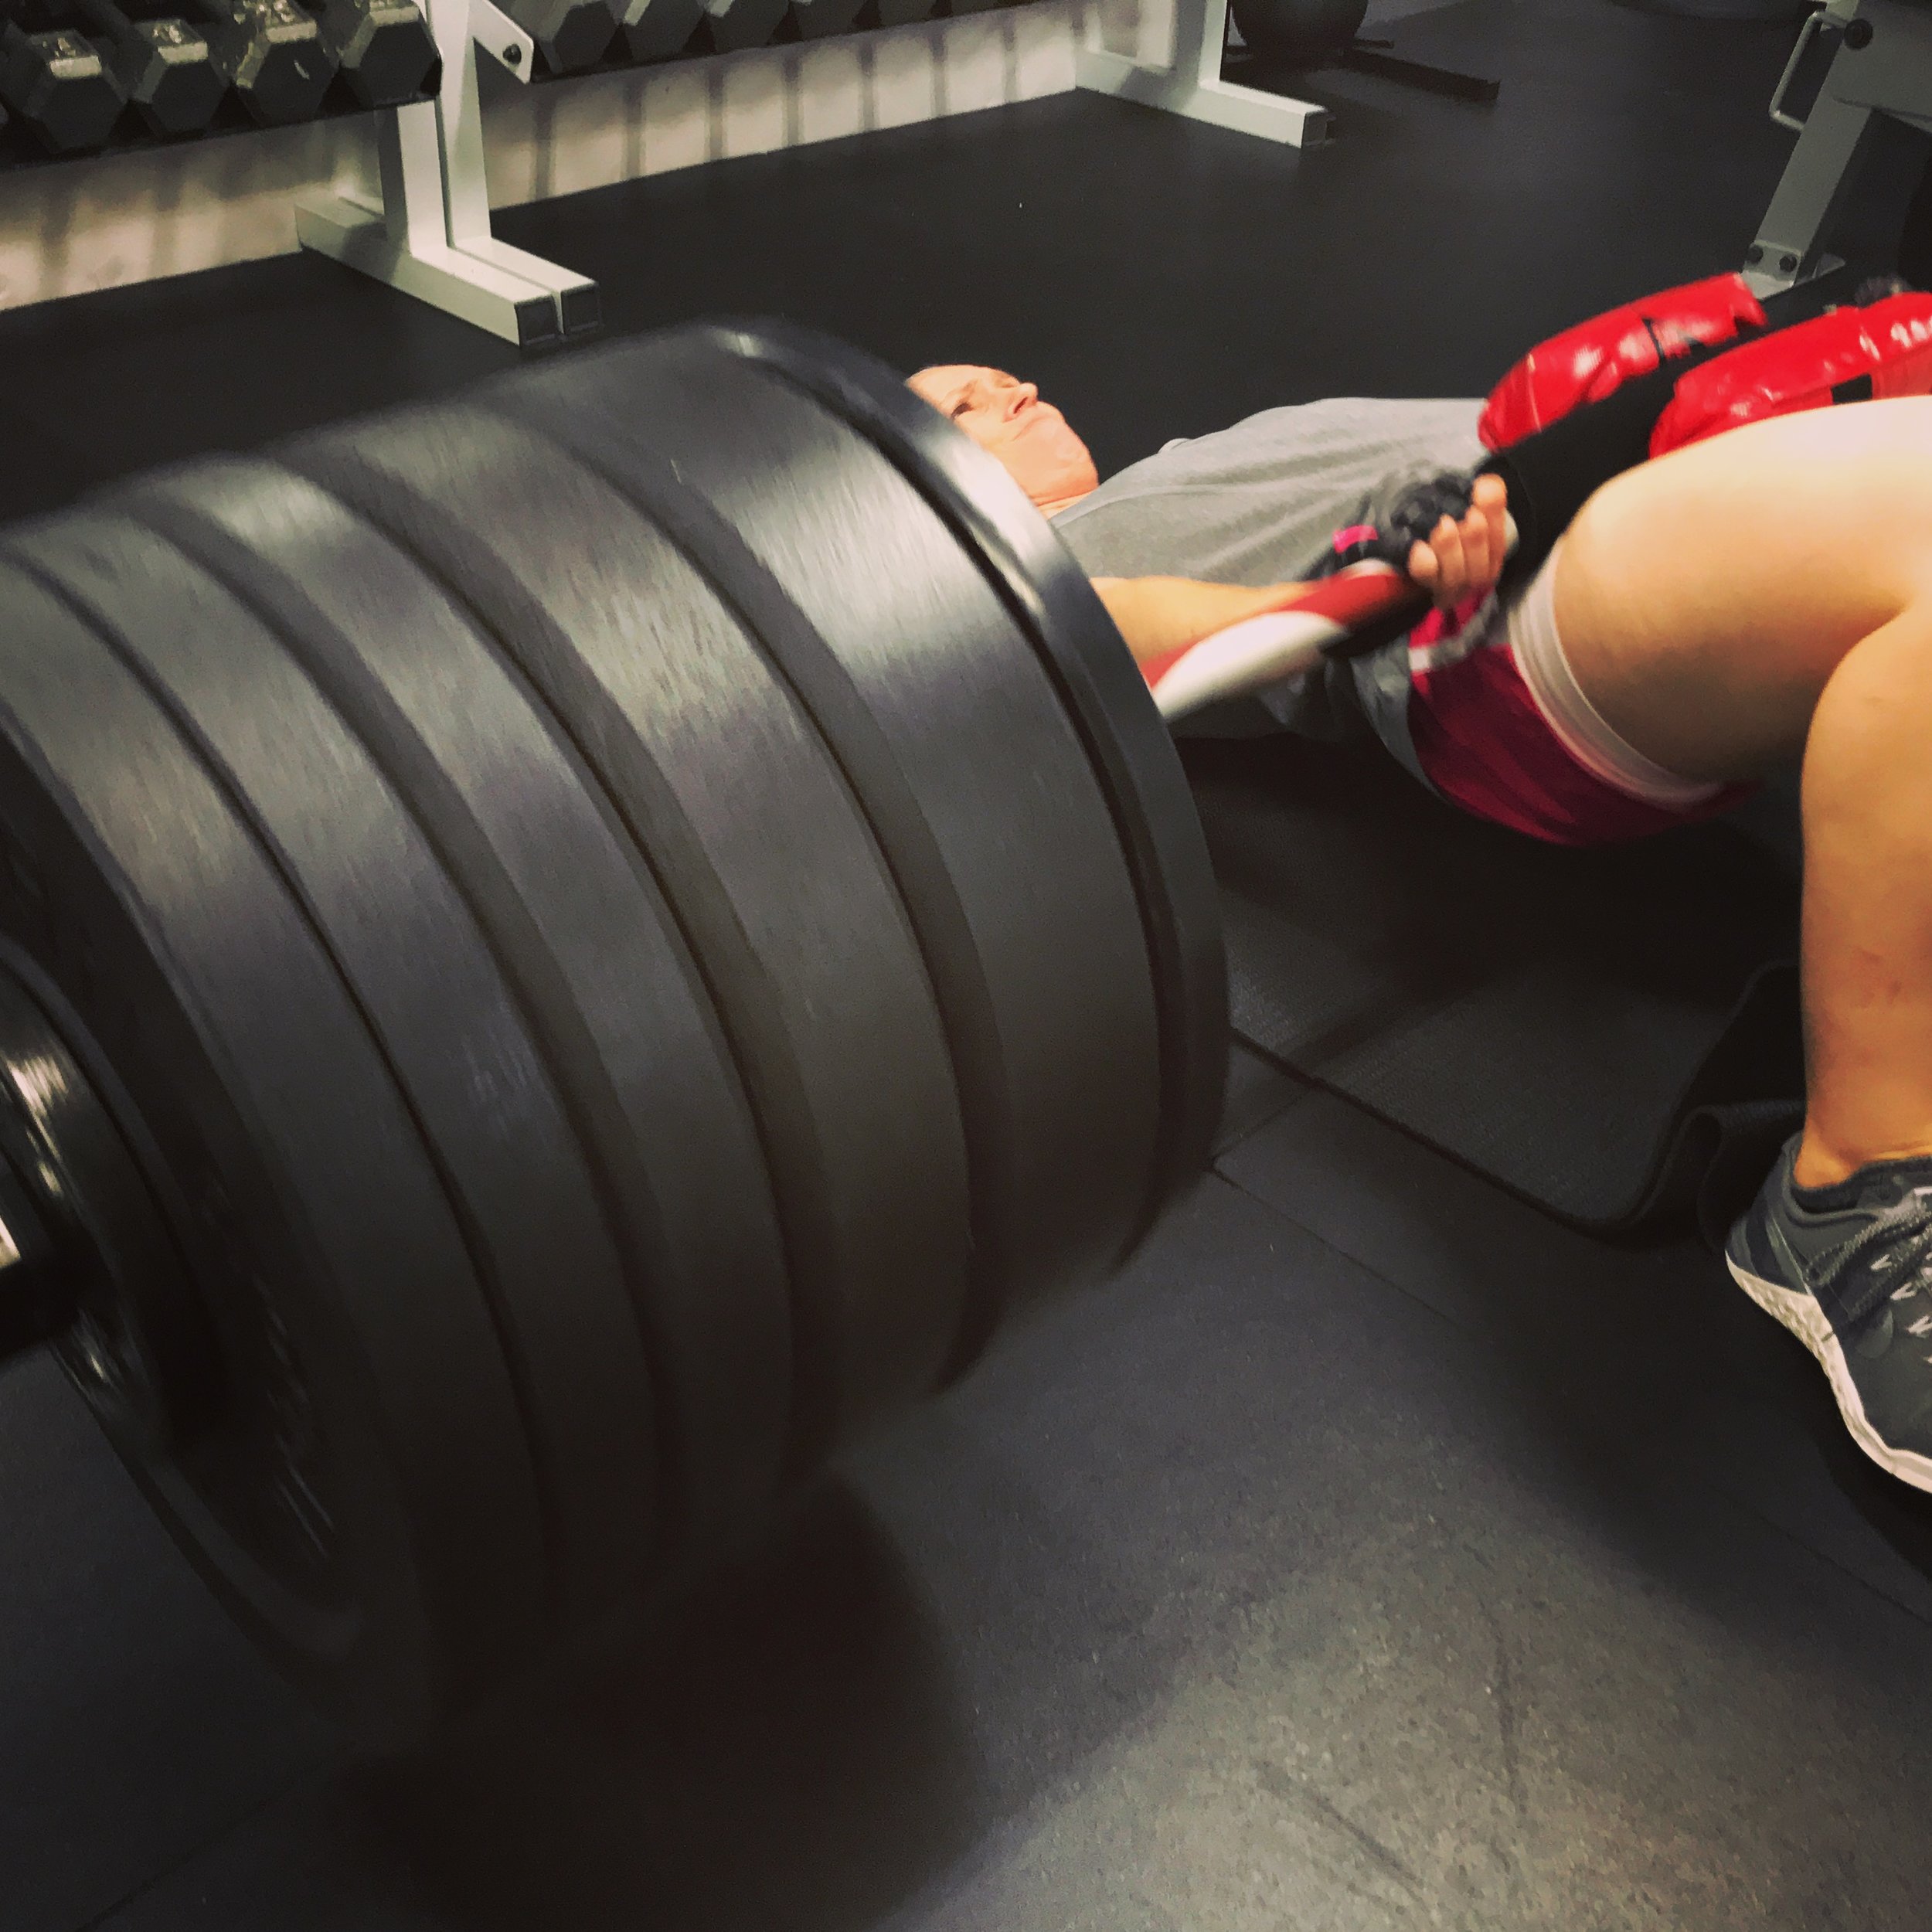
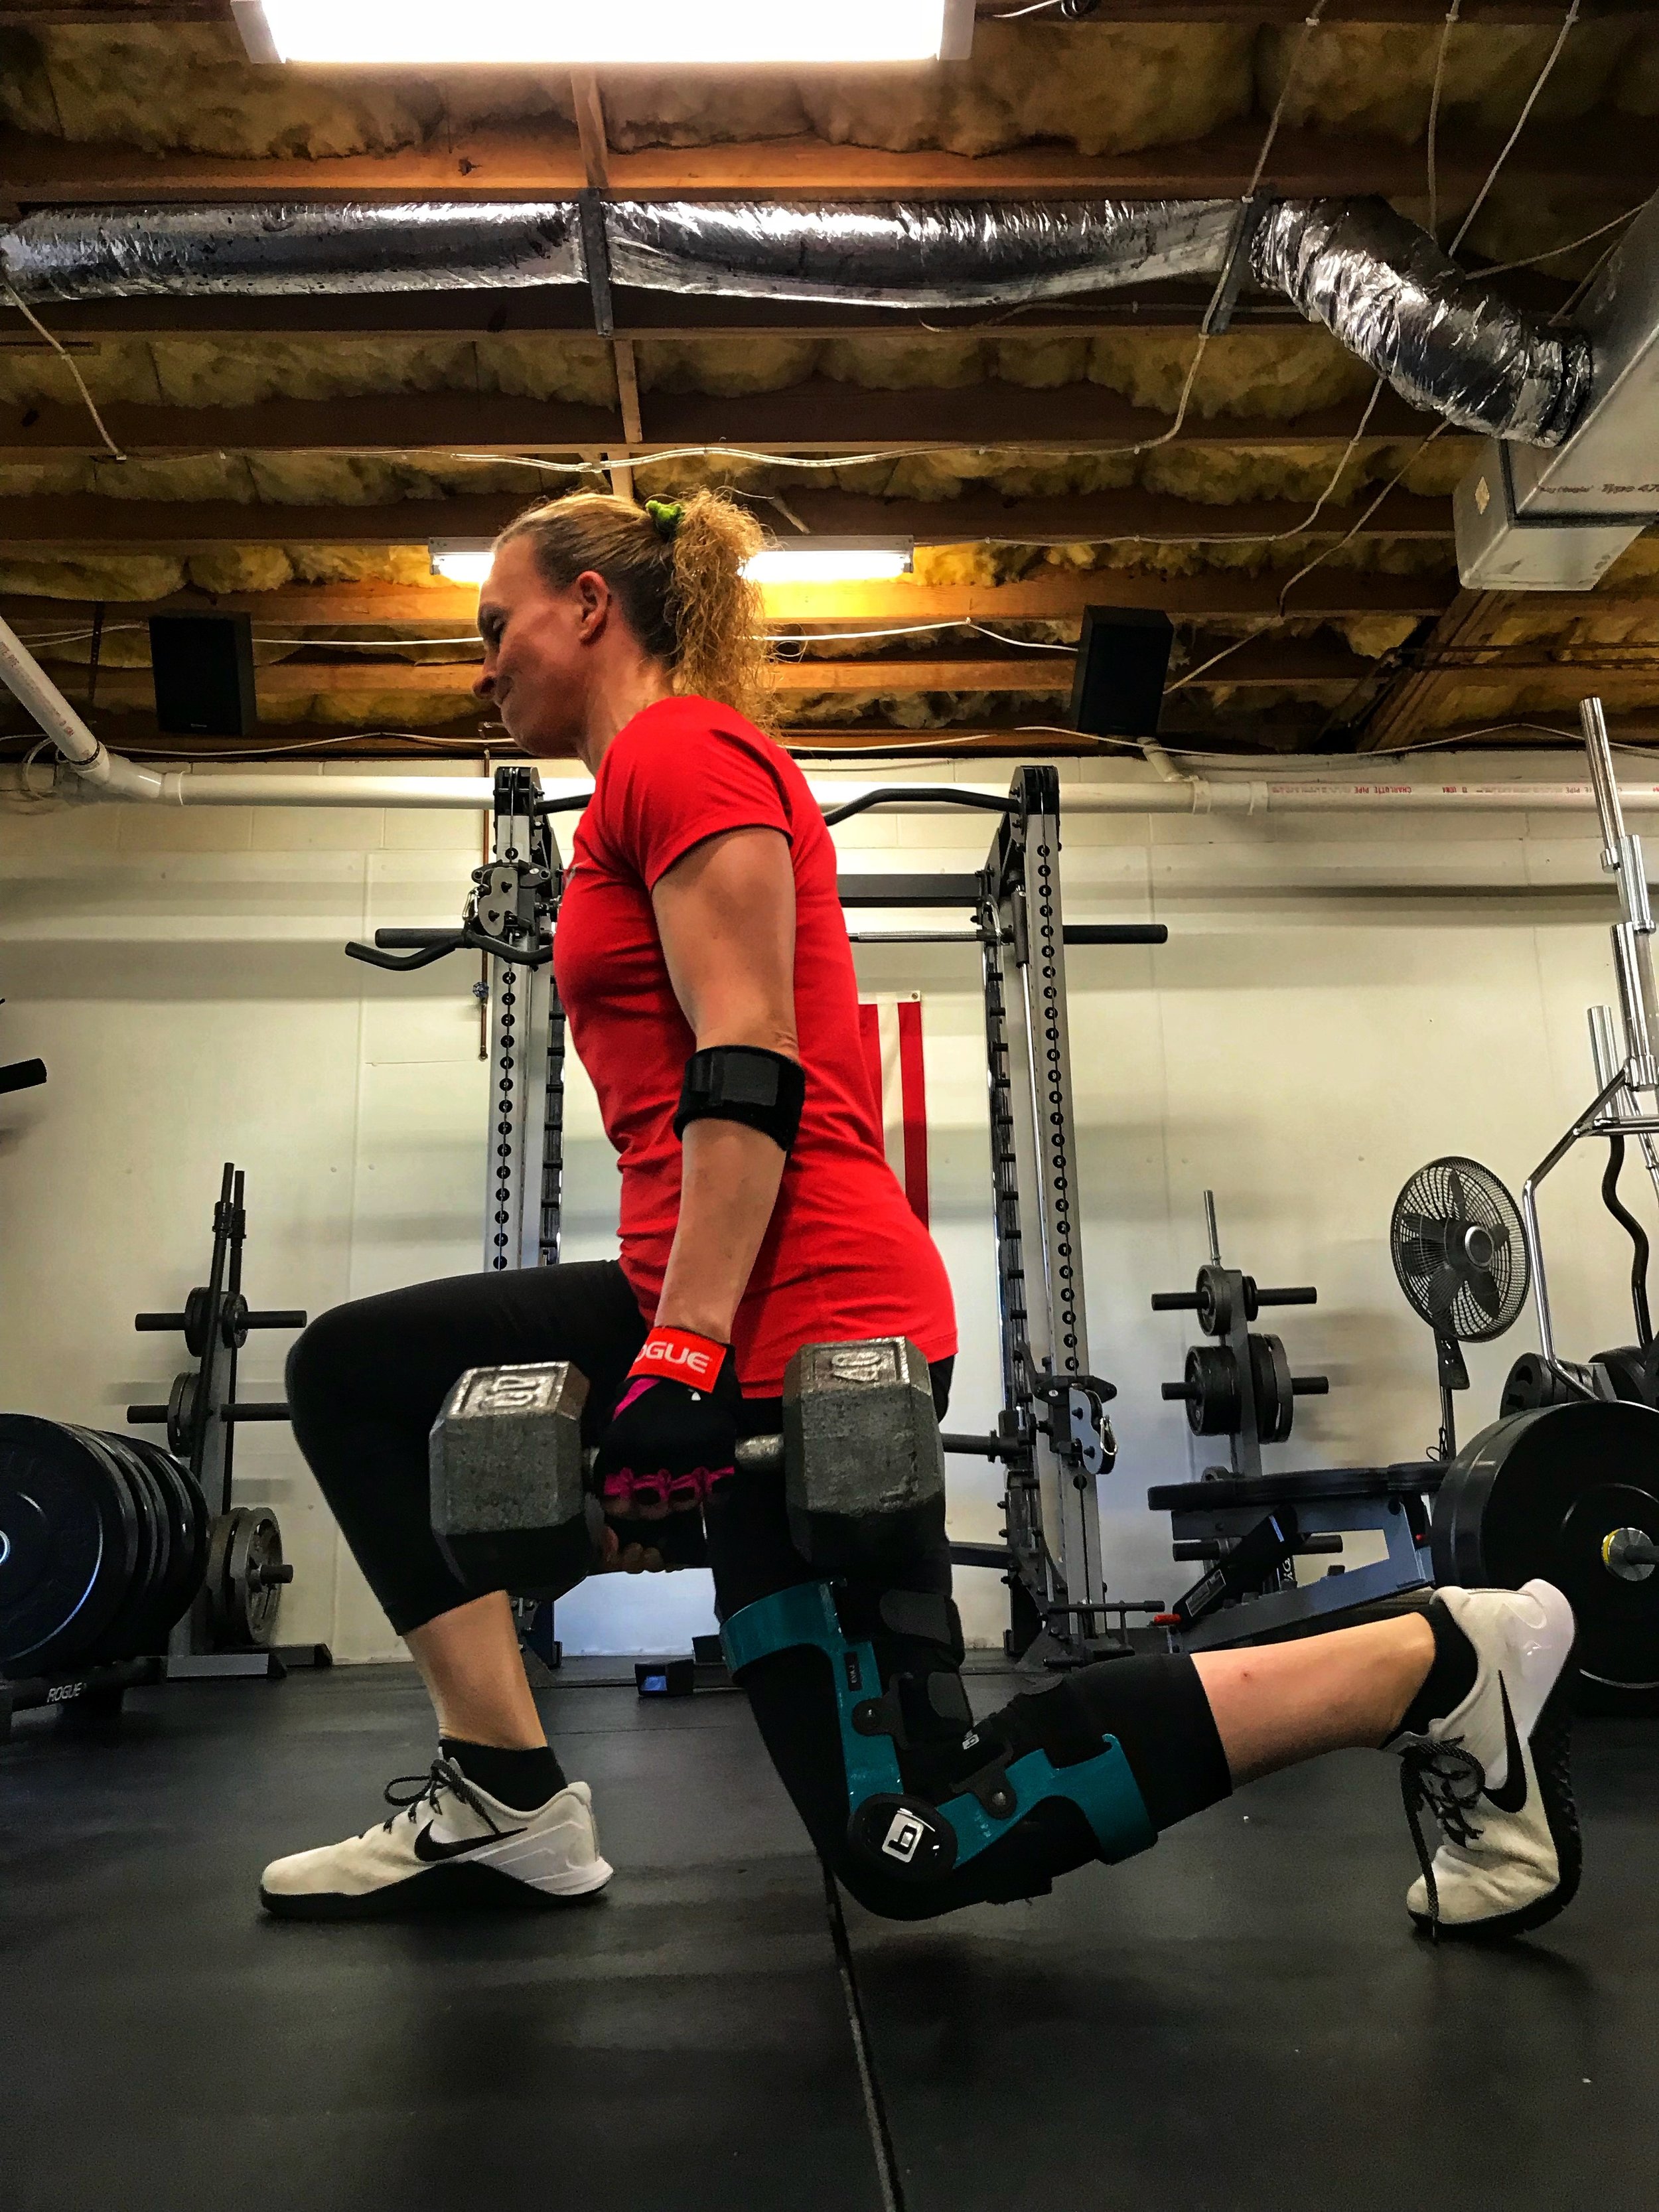
The Deadlift and its Variations
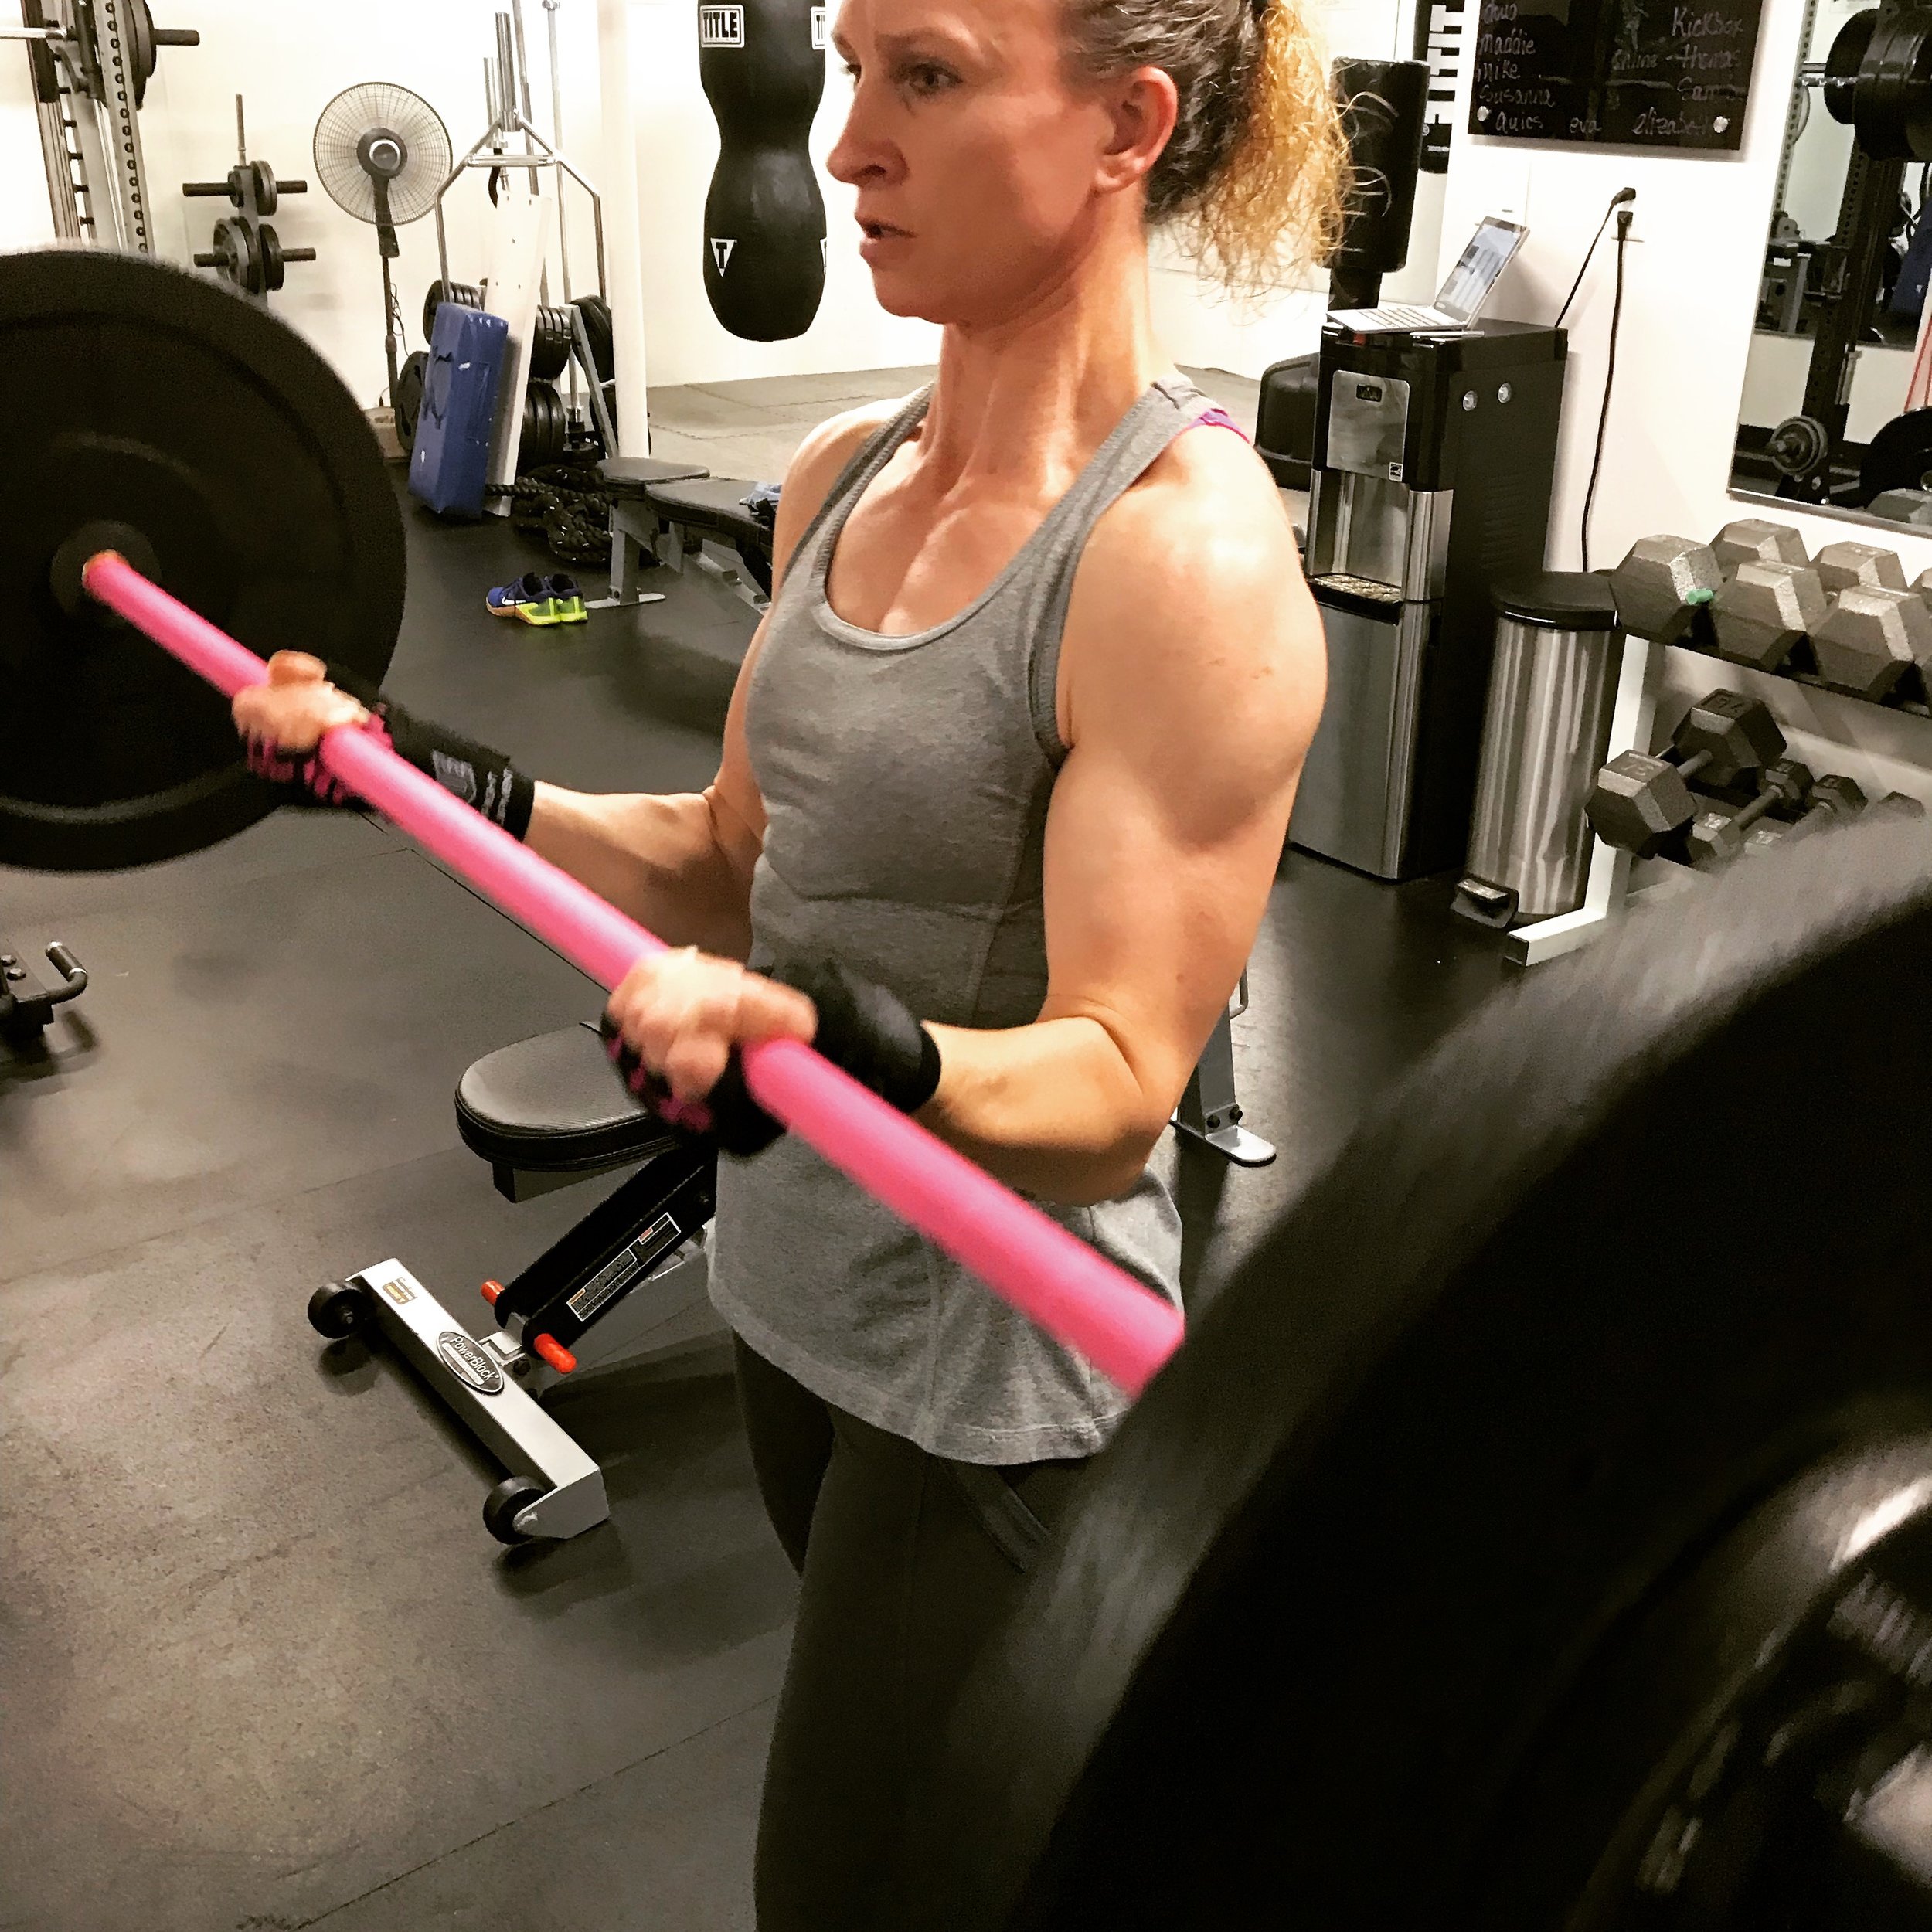
The granddaddy of them all - the Dead. As one of the Big Four lifts, the Deadlift is probably one of the greatest exercises for building total body strength. If you can bend down and pick up three or four hundred pounds from the ground you are indeed strong! This is probably the least technical of the Big Four but the one that injures most clients. The hip hinge is crucial in this exercise but we do have multiple variations to help those with past injuries, that can't set up to the bar properly or that aren't comfortable with the lift. A slightly modified version that you do consistently will provide far better results than the "ideal" lift that you can't, don't want or simply refuse to do. We've got you covered.
Sign up to receive more tips, recipes and tricks for building a lifestyle that produces lasting results.
No spam, no junk and you can unsubscribe at any time.


The Barbell Deadlift
The granddaddy of them all - the Dead. Probably one of the greatest exercises for building total body strength. If you can bend down and pick up three or four hundred pounds from the ground you are indeed strong! This is probably the least technical of the Big Four but the one that injuries most clients. The hip hinge is crucial in this exercise. ‘Nuff said!
How To:
The set-up is everything in this lift. Once you get it down everything becomes much simpler.
You normally like your feet right under your hips and the bar over the knots of your shoelaces. This is the center of your foot and the stance-width will put your feet right under the bearing part of your body, the hips, for strength and stability.
With the knots of your shoes under the bar, keep your knees unbent and use the hip hinge to bend straight down by shoving your butt back to grab the barbell. Then bend your knees and touch your shins to the bar.
Your lower back should be in a fairly neutral position. Shoving your butt back while keeping your shins on the bar will set your back in a nice, strong position that we want to maintain throughout the lift. The back can't flex or extend under loading. The angle it has at the beginning remains throughout the rep.
Pull your shoulders up so you feel your arms stretch. You'll probably hear the sleeves of the bar click against the plates. This will make sure your lower back is in a strong position.
Once you're in that position, brace your core with a deep breath and simply pull the bar straight up your legs. As it starts to break ground, press down like you're standing on a Leg Press machine and start pushing your hips forward to complete the lift. Squeeze your glutes as you come up to help lock out the lift at the top.
The hips and shoulders rise at the same rate but if you attempt to lead with the hips the lower body will dominate the upper and you'll usually end up rounding the back. We call this, "Jumping the bar off of the floor."
The bar should ride fairly close to your shins the entire time. If you're in the proper position the bar won't exert much pressure on your skin but the knurling is often pretty rough so guards or long pants often help.
The descent is just the opposite. Start by shoving your butt back and get the bar down on the floor quickly. Your body knows to bend your knees as the bar passes them on the way down.
Reset your shoulders and lower back prior to the next rep by once again shoving your butt back with your shins against the bar and pulling your shoulders up.
A set of 5 reps is 5 separate pulls from the blocks.
The Trap Bar Deadlift
A slight variation on the traditional Deadlift. With the weight to the side and your hands in a neutral position at your side, it's usually a bit gentler on the back, especially when using the raised handles. You can still get hurt but the lift is a little more forgiving in this configuration. While it sometimes gets short shrift, let no one fool you, if you can bend down and pick up 200-300 pounds, you are definitely strong. If you apply the basics of progressive resistance you'll also get stronger over time. There are numerous real world scenarios where you bend down to pick up objects on either side of you so it's not without application in the everyday. We have both the 5-foot, 45-pound trap bar with 25mm handles and the bigger 7.4-foot, 60 pound bar with 28.5mm handles. The bigger bar is harder to grip for smaller hands but a much smoother pull with the weight farther out to the sides.
How To:
Just like the conventional Barbell Deadlift, the setup makes proper form much easier.
Even though the bar has the space in the middle, for the purposes of our setup, we're going to pretend the bar extends from sleeve to sleeve.
Put the knots of your shoelaces directly underneath where the the bar would pass from sleeve to sleeve in order to center the weight under your hips.
Use the hip hinge to bend down - knees unbent and by shoving your butt behind you - and grab the handles in the middle.
Bend you knees until your shins are to the point where they would touch where the bar passes through the middle.
Pull your shoulders up so you feel your arms stretch. You'll probably hear the sleeves of the bar click against the plates. This will set your lower back in a very strong position. We want to maintain this position throughout the lift. The back cannot flex or extend under loading.
Pull the bar straight up. As it starts to come up, press down like you're standing on a Leg Press machine and start pushing your hips forward to complete the lift. Squeeze your glutes as you come up to help lock out the lift at the top.
Your hands and the bar should come up in a straight line.
Work to keep your shoulders pulled back throughout the lift. Slumping the shoulders forward almost always leads to a rounding of the lower back.
The descent is just the opposite. Hip hinge and get the bar down on the rack quickly. Just like the ascent, the bar should go down to the ground in a straight line as well.
Reset your shoulders and lower back by shoving your butt back with your shins against the imaginary bar through the center and pulling your shoulders up.
As always, a set of 5 reps should be 5 separate pulls.
The Block Pull Deadlift
This is the simplest variation of the Deadlift. Elevating the bar is easier on the back and also allows those with limited mobility or structural issues in the hip to set up in a safe position in order to get the benefits of the Deadlift. Used during rehab and for those working to lift from the floor after injury or a lower back issue. This lift is often used to help lifters focus on the top portion of the lift, overload more due to the shorter ROM or increase the intensity of the exercise. However, in our demographic, we usually program it because clients have past injuries and can't set up to the bar properly; or simply aren't comfortable with the lift. You can buy deadlift blocks, use bumper plates flipped on their sides, plyo boxes or you can make your own, like we did with this nifty set of DIY Deadlift Blocks. The higher you raise the bar, the easier the lift becomes, where easy is relative to the fact that you're still picking up heavy weight from the ground. It's also a great alternative for those who don't like doing a Rack Pull.
How To:
Except for the bar being lifted on blocks, the cues are exactly the same as they are for the conventional Barbell Deadlift and that also means the set-up is everything in this lift. Once you get it down everything becomes much simpler.
You normally like your feet right under your hips and the bar over the knots of your shoelaces. This is the center of your foot and the stance-width will put your feet right under the bearing part of your body, the hips, for strength and stability.
With the knots of your shoes under the bar, keep your knees unbent and use the hip hinge to bend straight down by shoving your butt back to grab the barbell. Then bend your knees and touch your shins to the bar.
Your lower back should be in a fairly neutral position. Shoving your butt back while keeping your shins on the bar will set your back in a nice, strong position that we want to maintain throughout the lift. The back can't flex or extend under loading. The angle it has at the beginning remains throughout the rep.
Pull your shoulders up so you feel your arms stretch. You'll probably hear the sleeves of the bar click against the plates. This will make sure your lower back is in a strong position.
Once you're in that position, brace your core with a deep breath and simply pull the bar straight up your legs. As it starts to break ground, press down like you're standing on a Leg Press machine and start pushing your hips forward to complete the lift. Squeeze your glutes as you come up to help lock out the lift at the top.
The hips and shoulders rise at the same rate but if you attempt to lead with the hips the lower body will dominate the upper and you'll usually end up rounding the back. We call this, "Jumping the bar off of the floor."
The bar should ride fairly close to your shins the entire time. If you're in the proper position the bar won't exert much pressure on your skin but the knurling is often pretty rough so guards or long pants often help.
The descent is just the opposite. Start by shoving your butt back and get the bar down on the pads quickly. Your body knows to bend your knees as the bar passes them on the way down.
Reset your shoulders and lower back prior to the next rep by once again shoving your butt back with your shins against the bar and pulling your shoulders up.
As always, a set of 5 reps is 5 separate pulls from the blocks.
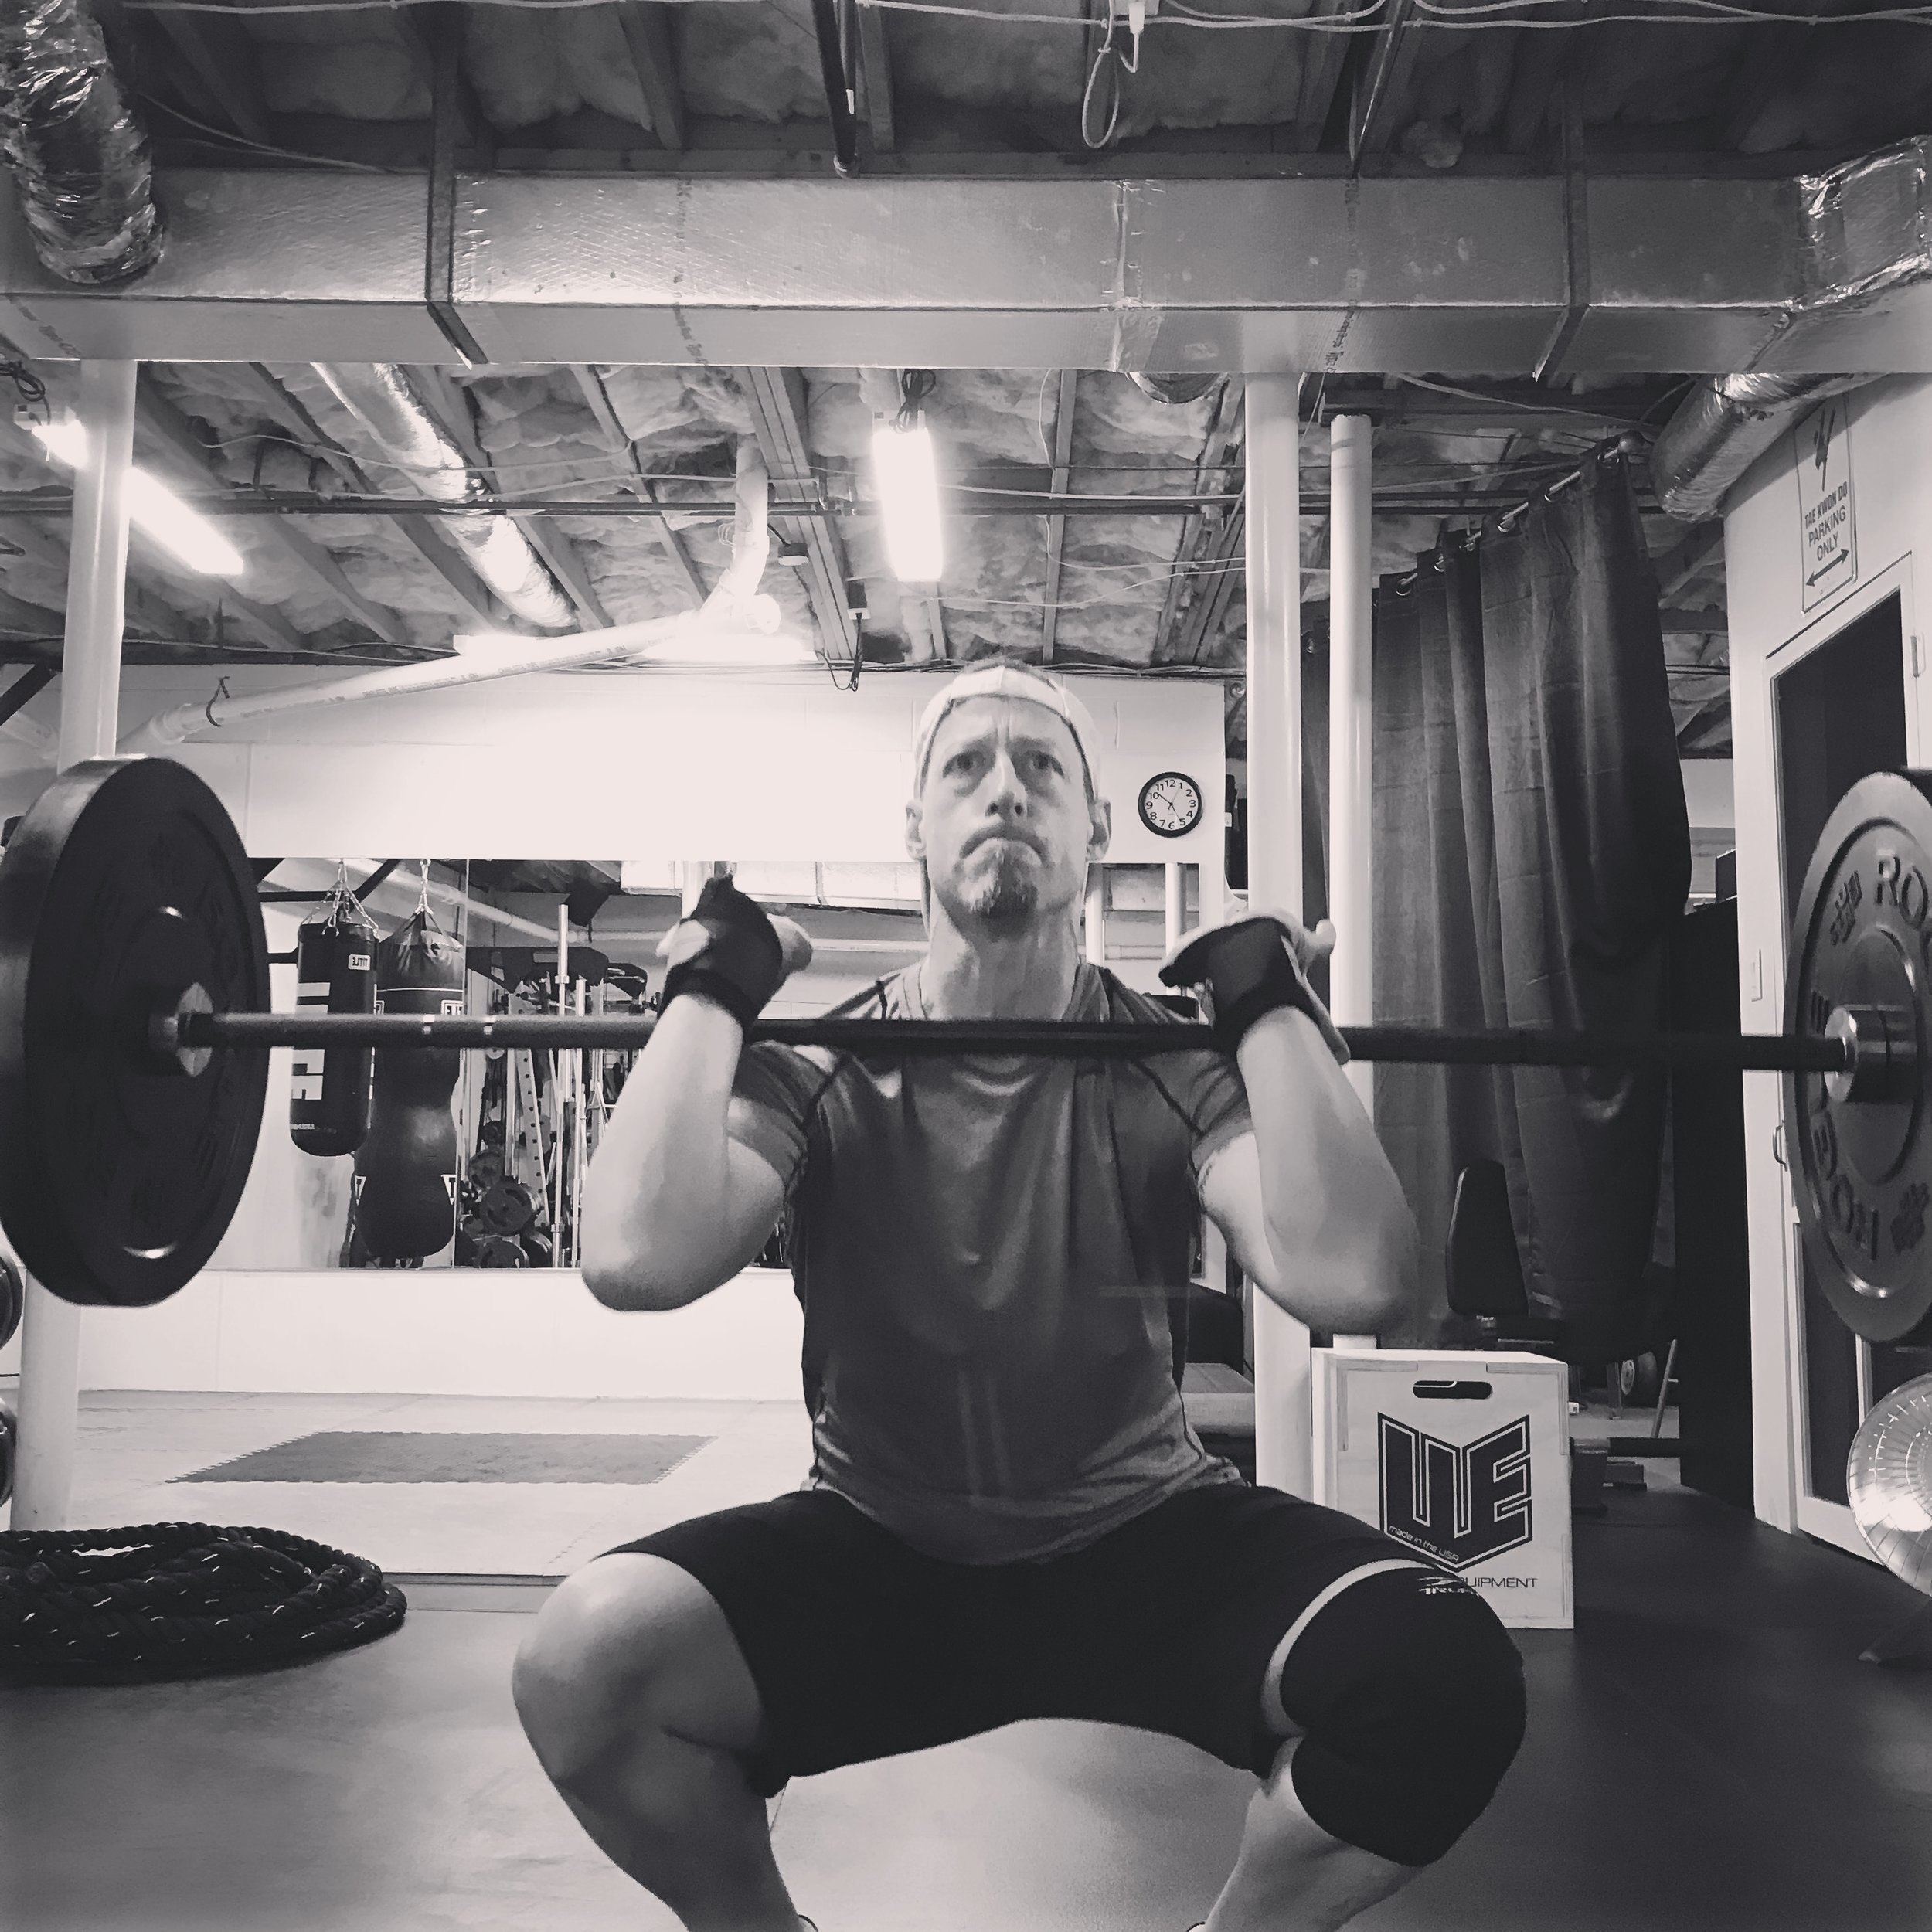
The Rack Pull
Basically, an elevated version of the grandaddy of all the lifts, the Deadlift. Elevating the bar is easier on the back and also allows those with limited mobility or structural issues in the hip to get into a safe position in order to receive the benefits of the Deadlift. Used during rehab and for those working to lift from the floor after injury or a lower back issue. You can elevate the bar with bumper plates flipped on their sides, deadlifting blocks, plyo boxes or, place the bar in the rack. Try to get the bar below your knees, if possible.
How To:
Like any of the Deads, the setup is everything in this lift. Proper form becomes much easier by setting up correctly.
Place your feet right under your hips and the bar over the knots of your shoelaces. This is the center of your foot and the stance-width will put your feet right under the bearing part of your body, the hips, for stability.
With the knots of your shoes under the bar, use the hip hinge-motion to bend down to grab the bar. (Keep your knees unbent and bend straight down by shoving your butt back to grab the barbell.) Then bend your knees and touch your shins to the bar.
Pull your shoulders up so you feel your arms stretch. You'll probably hear the sleeves of the bar click against the plates. This will set your lower back in a very strong position. We want to maintain this position throughout the lift. The back cannot flex or extend under loading.
Pull the bar straight up your legs. As it starts to come up, press down like you're standing on a Leg Press machine and start pushing your hips forward to complete the lift. Squeeze your glutes as you come up to help lock out the lift at the top.
Work to keep your shoulders pulled back throughout the lift. Slumping the shoulders forward almost always leads to a rounding of the lower back.
The descent is just the opposite. Hip hinge and get the bar down on the rack quickly.
Reset your shoulders and lower back by once again shoving your butt back with your shins against the bar and pulling your shoulders up.
Once again, a set of 5 reps should be 5 separate pulls.
Hip Hinge vs. Bending at the Waist
Any of the big lifts, Squat, Deadlifts, RDL and lifting things off of the ground at home require you to hinge at the hip in order to properly load the big muscles of the lower body like your glutes, hamstrings, quads, etc. When you receive friendly advice to, "Lift with your legs, not your back" they actually mean for you to hinge at the hip in order to load muscles of the lower body properly so you can safely make the lift without endangering the spinal erector muscles and your lower back.
How To:
Stand sideways to a mirror so you can see the difference and learn the proper motion.
If you place your finger on your waist (under your belt) and rotate around it you'll notice your lower back rounding and you bend over.
The hip is located approximately 3"-4" below the waist (which is directly underneath your belt). You can feel a bony protuberance as you slide your finger down the outside of your leg from your belt.
Rotate around this point in order to accomplish the hip hinge motion.
In order to do so, you must shove your butt back in order to descend and your hips must subsequently drive forward in order to ascend.
You'll notice in the mirror, as your butt goes back, the lower back remains unaffected.
Practice by standing in front of a target and pushing your butt back in order to touch it. You can stand in front of and close a door by using the hip hinge and you'll see the lower back isn't affected.
Squeeze your glutes as you ascend and always keep your shoulders pulled back and down.
You can even hip hinge and then bend your knees and you'll see that, once again, the back remains unaffected and you're actually ready to use the big muscles of the lower body to lift.
more food for thought…
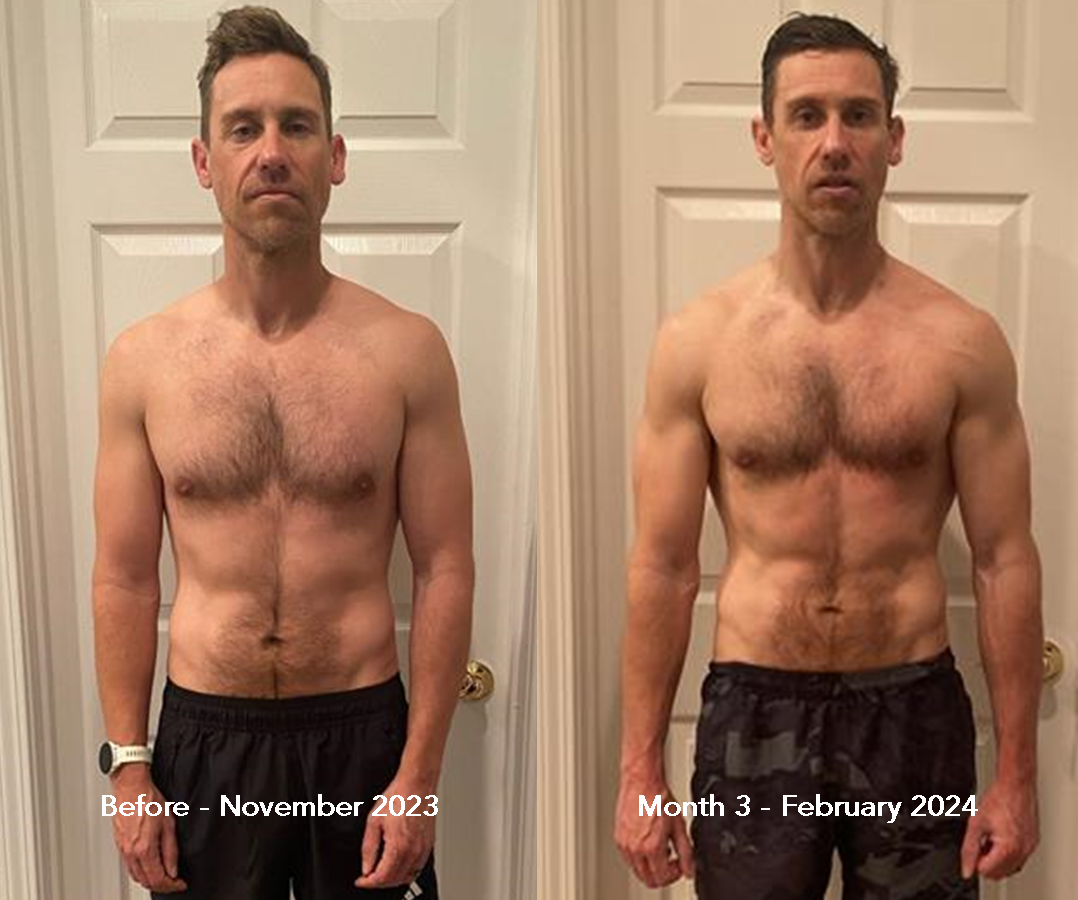
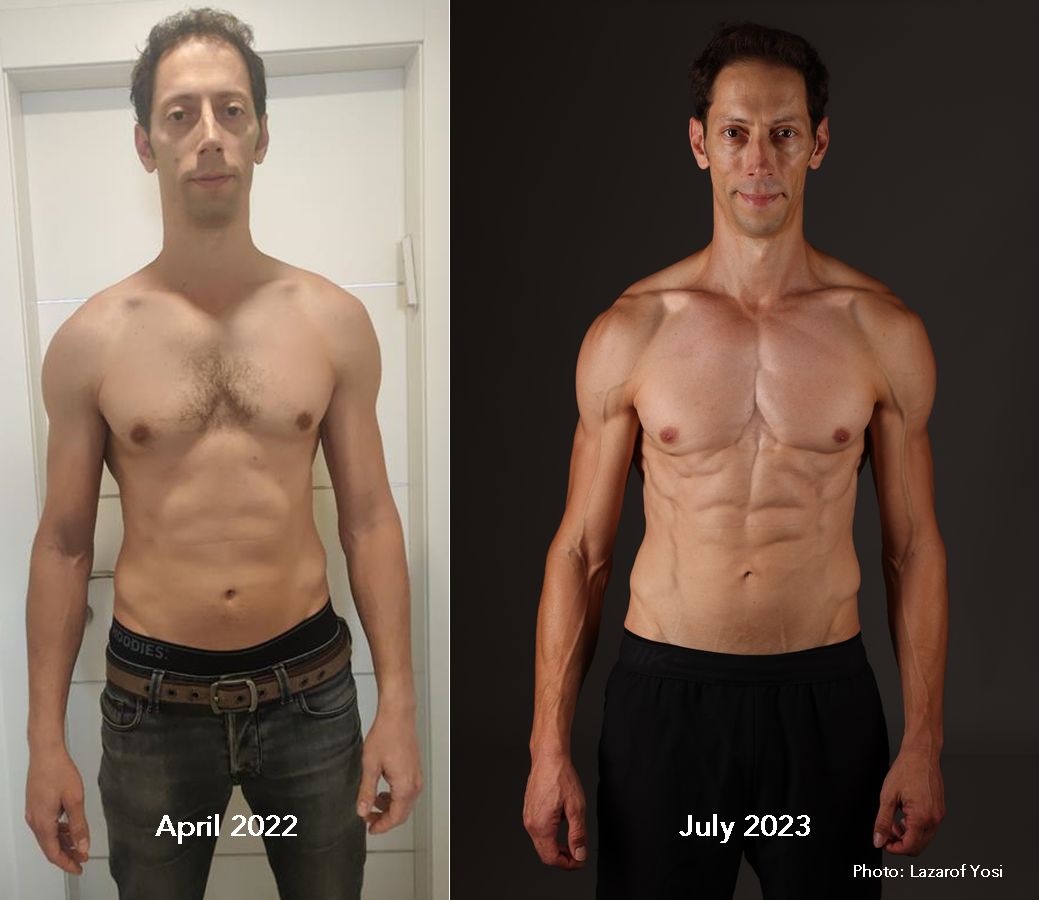
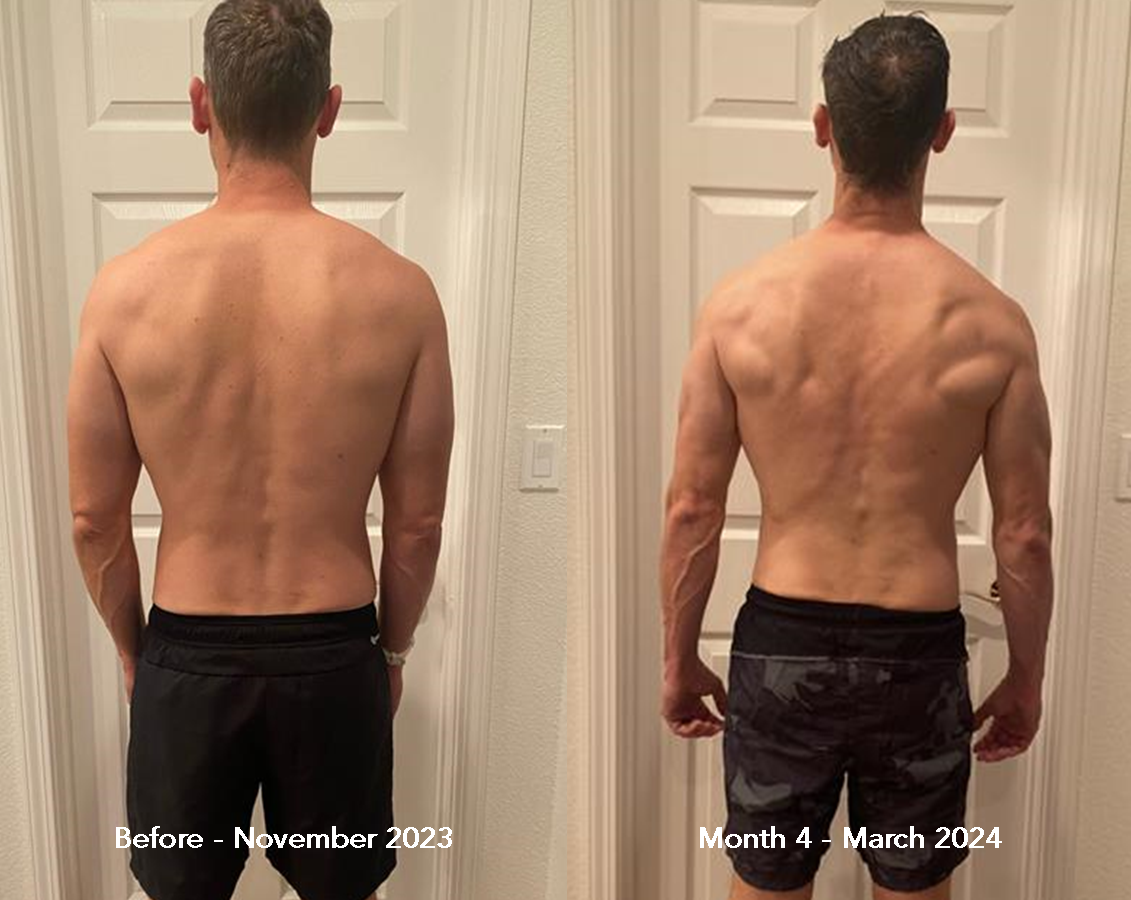
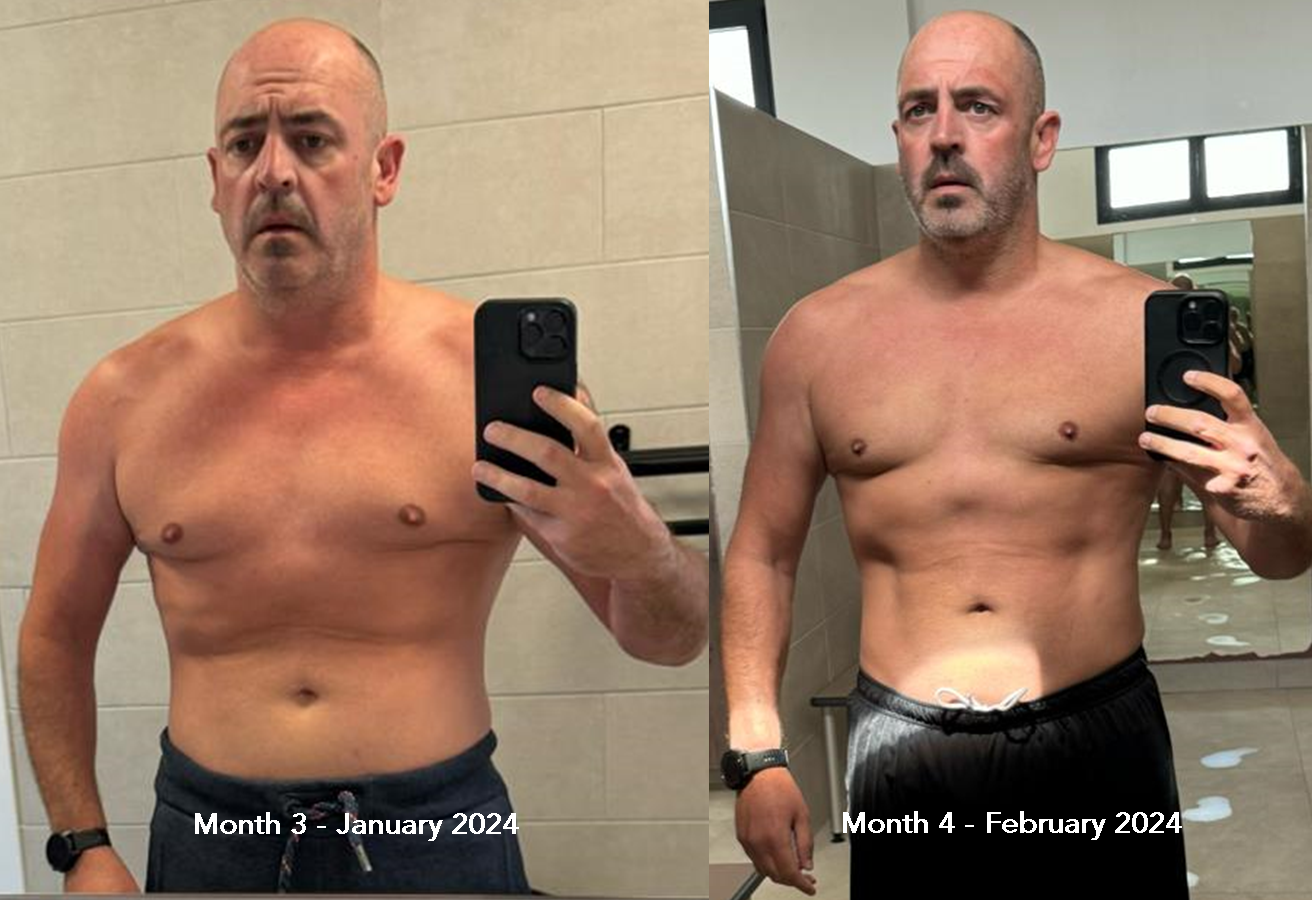
Go Heavy or Go Home (Lift Weights to Lose Weight, Look Good and Live Long)
Whether you’re trying to lose fat, gain muscle or just enjoy a healthy life, lifting heavy weight has fabulous benefits.
Nutrition For Optimal Recovery
The Deads are our biggest lifts and excellent nutrition will help you recover faster and get the most out of your hard work. Enjoy low calorie, high protein meals with our Online Nutrition Coaching. Transform your diet with delicious recipes & eating strategies for a balanced life.
More Instructional Workout Videos
Explore our Instructional Workout Videos for expert guidance on achieving your fitness goals. Perfect for busy professionals eager to get fit